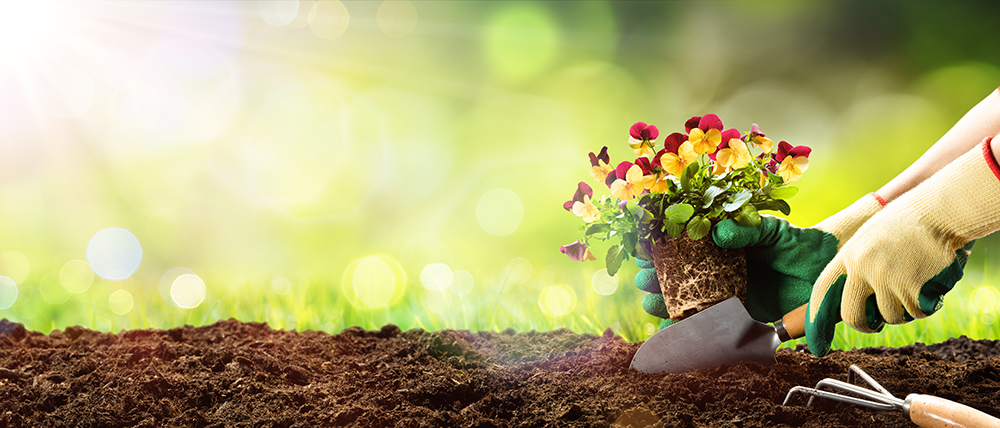
Bigger produce, prettier flowers and a healthier garden can come at no extra cost to you. Composting not only reduces trash in landfills, but also improves your backyard at home. Follow our easy steps and you’ll be amazed at the change in your garden — and the amount of garbage you throw away.
1. Set up your bin or pile.
Choose an outdoor space for your compost. If you pick a sunny spot, the soil will develop faster. Just water it often enough to keep it moist. A closed bin is a good choice if you’re worried about the way your compost pile will look (or smell)! You can easily make a container, order one online or buy it at a hardware or gardening store. Look for a bin that’s about 3 feet in diameter and not much taller than your waist. If you start a pile, protect it from animals such as raccoons (or even the neighbor’s dog) using fencing.
2. Collect scraps.
Next, collect waste from your kitchen and garden. The trick is to aim for equal amounts of “green” waste and “brown” waste to keep your compost healthy. “Green” waste includes fruits and vegetables and “brown” waste can be items like wood shavings, dry leaves or even old newspapers. Maintaining a balance is important is because “brown” materials are rich in carbon, feeding the organisms that break down the scraps and “green” materials supply nitrogen — key for building the cell structure of your new soil.
Your compost also needs oxygen and moisture. Without air, your pile will start to rot and smell. Moisture helps break everything down; sprinkle the compost with water every now and then, unless your scraps are wet enough on their own. With the right mixture, your compost should smell like nothing but earthy dirt.
What Not to Compost: Dairy or animal products (even animal bones) will start to smell and attract pests. The same goes for fats, oils and pet waste. Also, if you have a disease or insect ridden plant, don’t add it to the pile – it could contaminate your compost making it unusable.
3. Wait!
Over the next few weeks, you’ll see your food scraps turn into soil. Turn your mixture over every week or two with a shovel or garden fork to mix it up. If you’re not seeing progress after a few weeks, add more “green” material and make sure you’re keeping the pile moist. If it’s smelly and wet, add more “brown” material and turn the compost more frequently. Also, break apart any big materials (like branches) to keep air flowing.
4. Use your new soil.
Your compost is ready when it looks and smells like soil! Incorporate it into your garden beds or sprinkle it on top. Remember, compost is not a replacement for your soil, but rather acts as a natural fertilizer to nurture your soil and plants, so add it a couple of times a year for best results.
Article Courtesy of Good Housekeeping

